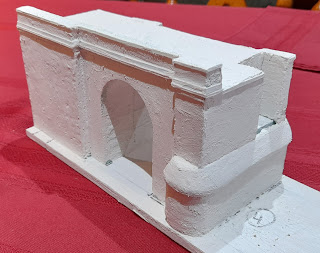
Originally, I had contemplated a potential a 3D printed solution but I struggled to develop suitable graphical images. So instead, I reverted to a first principles physical model using shapes cut from a sheet of XPS Handy Panel foam board. As I mentioned, this product is easily sawn and shaped with little mess. With care, it can even be screwed.
The piers were fitted to a sheet of thin sheet of plywood. When complete, the bridge will replace a temporary section on the layout.
The photos opposite and below show stages of the construction process. A piece of timber, visible in the second photo, was inserted into each column to assist securing it to the ply and provide additional support to each of the trusses. Most of the cutting was completed on a band saw and glued together with PVA glue.

I applied several coats of Uni-Pro Smooth Coat to cover the foam board. This is intended to seal the foam and create a surface in preparation for whichever finish is applied.
I have wrestled with a method to finish the piers and abutments. Ray Love's photo opposite (Ray Love 'Days of Steam', p67) appears to shows the piers and abutment constructed out of sandstone blocks. At this stage, I anticipate applying a suitable printed paper product unless other solution emerges.
The photo below, a reprise from my January post, shows the bridge sitting on the track above its final location. Once the support structure has been finished, I'll fit the trusses and track before lowering it into position. But now, it's still a work in progress but as I said earlier, nothing happens quickly at Philip's Creek!


