Almost 10 year ago, I wrote a post about a rebuild of an old US tank wagon as a NSWGR 9000 gallon wagon (A 36ft Tank Wagon aka Grandfather's Axe). I was reminded of this post as I started significant scenery work on the upper level of the layout and the refurbishment of the Philip's Creek township. This part of the layout has remained fairly stable since around 2008. By 2018-19, I was speculating about a refresh of the scenery to bring the Philips Creek modules
to the standard of the more recently constructed modules.
However, the downsizing move in 2020-21 has changed that intent. The layout has been significantly reworked and the Philip's Creek modules, in particular, are having a major makeover and this begs the question; as these are the heart of the layout, is it still Philip's Creek? According to Wikipedia, this conundrum is known as the Ship of Theseus, or Theseus's Paradox, which asks whether an object is the same object after having had all of its
original components replaced over time, typically one after the other. Is it still 'grandfather's axe'?
Frankly, the short answer is that it doesn't matter. Philip's Creek is model of a fictitious
location and it can take whatever form I need it to take. Therefore, it
still is 'grandfather's axe'. So enough of the philosophical deep
thinking, what's actually happening at Philip's Creek? In short, a fair
bit!
The two photos below show Philip's Creek around 2018.
And the next two photos show Philip's Creek in its emerging form with the terraforming process well underway. The hotel, shops, war memorial and creek have not changed locations and can be used as reference point for a comparison between photos.
The track on the Philip's Creek modules was lifted and relayed. In essence, the modules were reversed in relation to other modules of layout, that is the Singleton end became the Muswellbrook end and visa versa. The actual station has also been relocated towards the centre as a major passing location for north south traffic and shunting opportunities at either end.
The backdrop has been added and will be painted once the basic terrain colours have been established.
 The road bridge, the subject of my most recent post now becomes a significant feature of the station precinct. The earthworks at either end of the road over bridge have now been constructed.
Three of the major buildings have been replaced by new structures. The older structures were all LJ cardboard kits built in the late 1990s. While great kits in their day, after 20 plus years, they were tired and showing their age.
All three buildings were replaced by similar kits from the Walker Models range. They were all easy to assemble which was fortunate because I suspect the instructions to be challenging for novice modeller.
The Royal Hotel replacement was interesting. Dimensionally, it was an exact replacement for the LJ kit and dropped directly into the place where the old kit had resided.
In addition, I have added a flour mill at the northern end of town. It provides an additional industry and a destination for wheat from Kingston Plains, enhancing the operation of the layout.
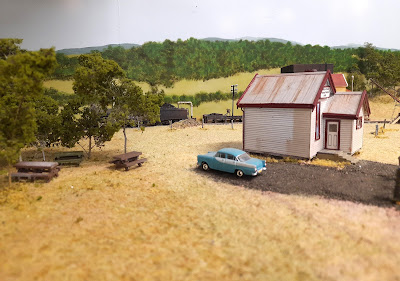
One of the consequences of the reversal is that the backdrop is now obstructs one of my favoured photo locations in the vicinity of the Philip's Creek road bridge. That means that the photo header for this blog can never be repeated and the best available is the photo opposite. Unfortunate but in the overall scheme of things, insignificant.
So, back to work, my biological clock is ticking!


